みなさんこんにちは!おさかなです!
今回は「User-Agent Switcher」について、書いていこうと思います!
それでは、レッツゴー!!!!!
・ユーザーエージェントを変更する方法を知りたい方
・ユーザーエージェントを変更するツールを探している方
・User-Agent Switcherの使い方を知りたい方
ユーザーエージェントを変更したい!
ユーザーエージェントを変更する方法を教えて!
それなら、User-Agent Switcherを使うといいかも!
おお~さっすがナビまる博士!

「User-Agent Switcher」って何?
「User-Agent Switcher」とは、ユーザーエージェントを変更することができる、Chrome拡張機能のことです。(ふむふむ…。)


実際につかってみよう!
まずはサイトから「User-Agent Switcher」を追加します!

Chrome拡張機能の追加方法がわからない方はこちら↓

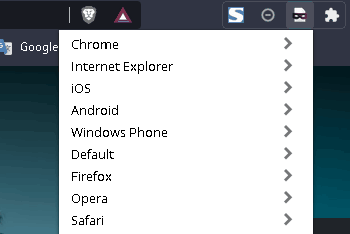
無事に右上にアイコンが表示されたら、アイコンをクリックしてみましょう!(ポチっと!)
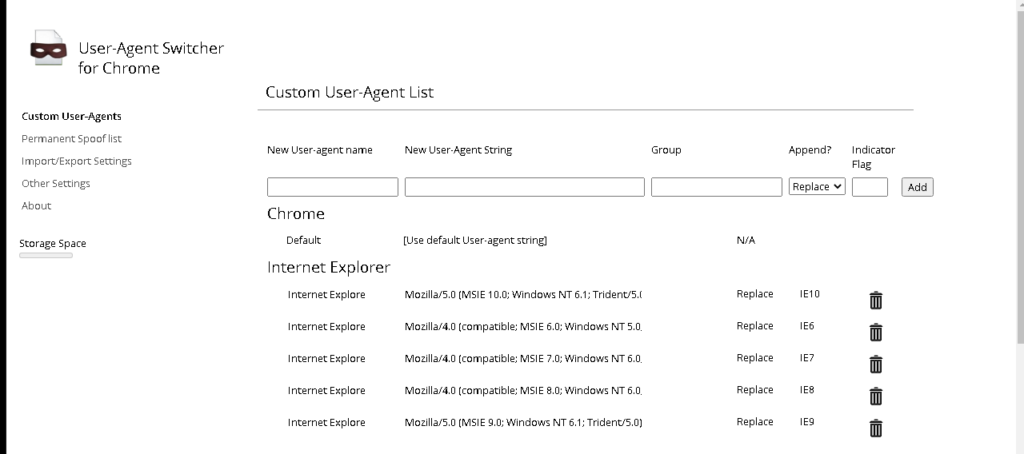
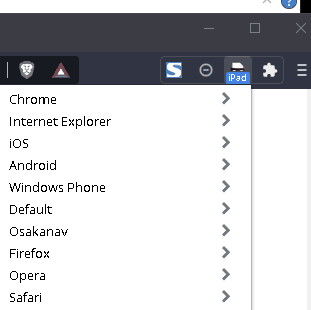
するとこんな感じで設定できるユーザーエージェントが表示されます!
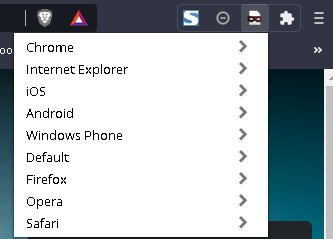
設定できるユーザーエージェント一覧
Chrome、Internet Explorer、iOS、Android、Windows Phone、Firefox、Opera、Safari
+(任意のユーザーエージェントを追加することも可能)
指定したいユーザーエージェントをクリックすれば変更完了です!(とっても簡単!)
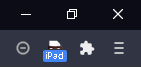
アイコンの上に「iPad」と青色のラベルが表示されている間は、iPadとしてインターネットに接続している状態です!(おお!)
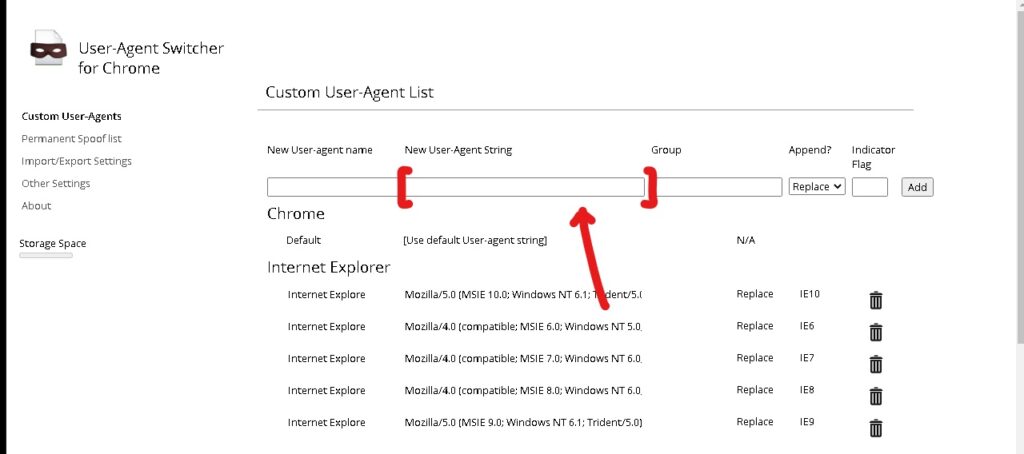
任意のユーザーエージェントを追加したい場合は、アイコンを右クリックして「オプション」を選択!
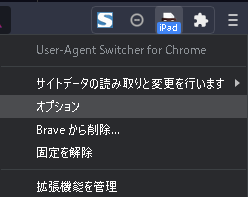
すると編集ページが表示されます!
任意のユーザーエージェントは、「New User-Agent String」ボックスに入力すると設定することができます!
「name」「Group」「Flag」はご自身のわかりやすいものでOKです。
入力が完了したら右側の「Add」を押します!
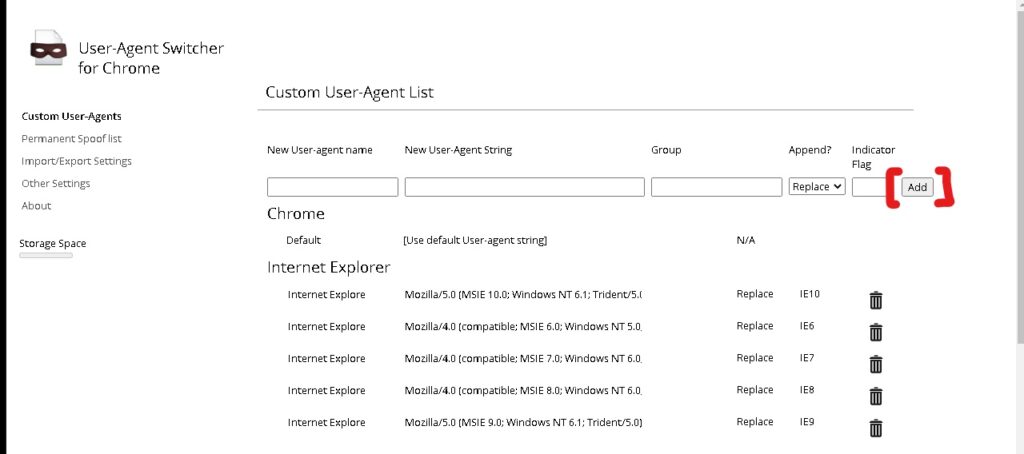
すると…?こんな感じで!無事に任意のユーザーエージェントが追加できました!(わーい!)
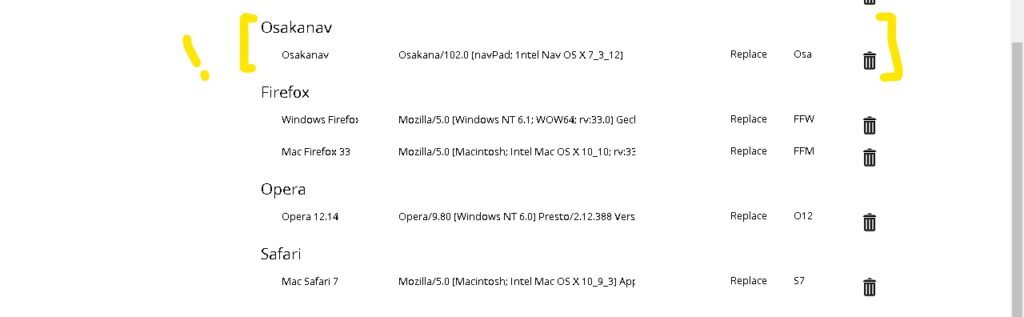
選択項目にも無事に追加されているのでOKです✨(やった~!)
ツールを活用して、セキュリティに強くなろう!
これで全ての操作は完了です。(やった~!)
お疲れ様でした☕

ここまで読んでくださり、ありがとうございました!