
みなさんこんにちは!おさかなです!
今回は「WebP Converter for Media」について、書いていこうと思います!
それでは、レッツゴー!!!!!
・サイト内の画像を一括で「.webp」拡張子に変換したい方
・WordPressサイトを運営中の方
・画像を軽量化したい方
「WebP Converter for Media」って何?
「WebP Converter for Media」とは、サイト内の画像拡張子を「.webp」に変換してくれる、WordPressプラグインのことです。
.webp拡張子とは、Googleの
↓画像単体で「.webp」に変換したい方はこちらもおすすめ!

実際に使ってみよう!
プラグインを追加しよう!
それではまず、WordPressの管理画面にログインします!

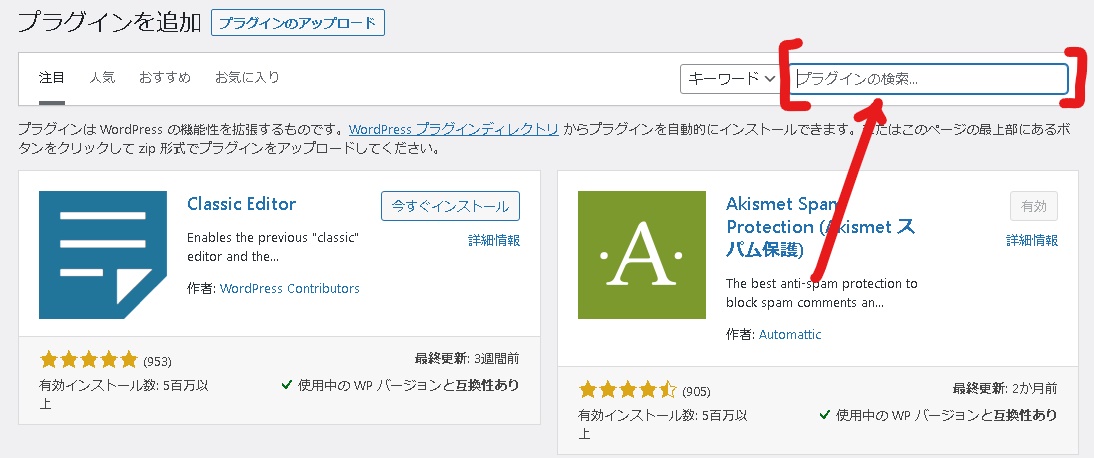
「ダッシュボード」から「プラグイン」>「新規追加」を選択します!(よいしょ!)

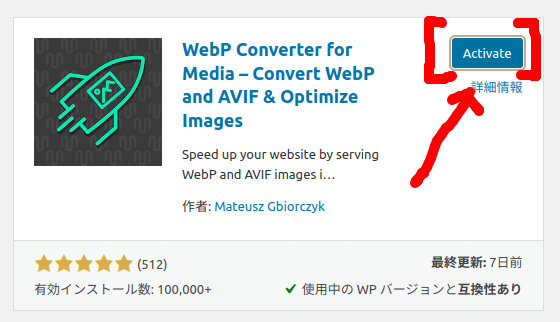
検索ボックスに「WebP Converter for Media」と入力します。
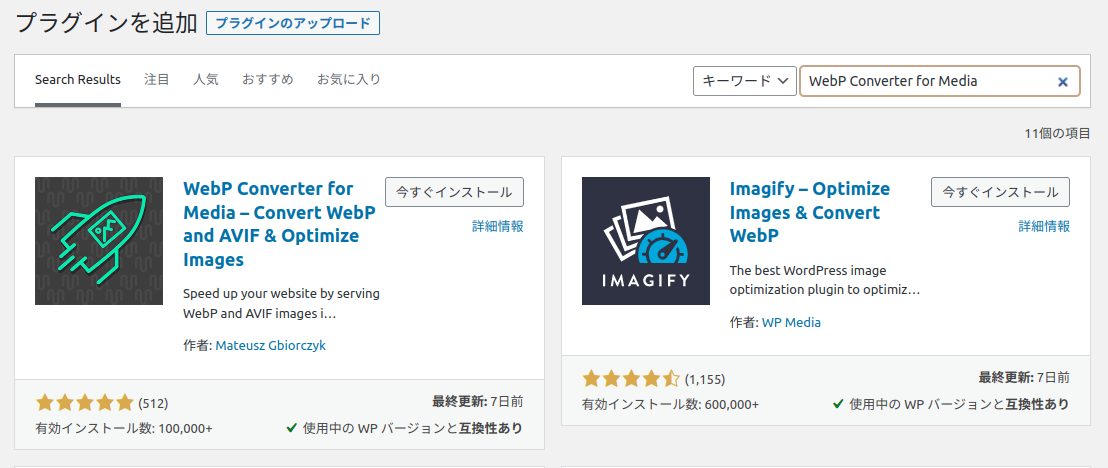
すると…?
こんな感じでヒットしました!(おお!)
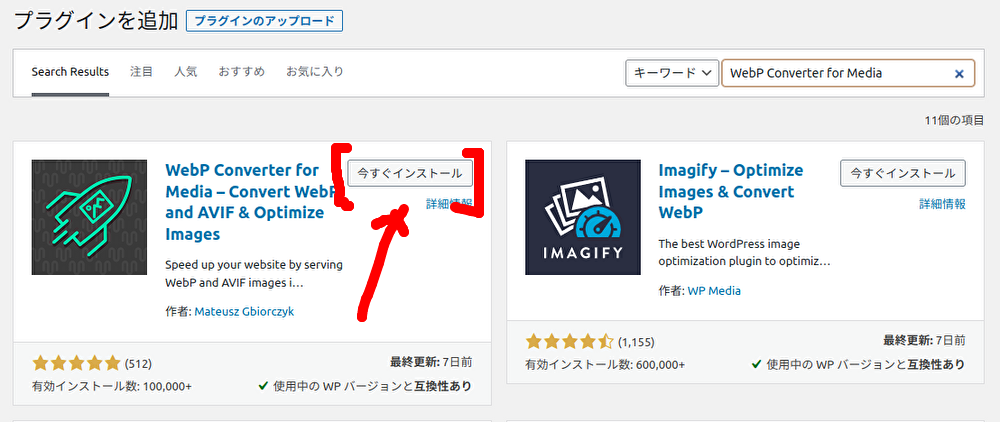
「今すぐインストール」ボタンを押します。(ポチッと)
インストールが完了したら、「有効化」させましょう!(エイ!)
(あともう少し…🍫)
.webpに変換しよう!
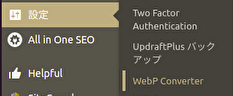
無事にプラグインが有効化できたら、ダッシュボードから「設定」>「WebP Converter」を開きます。(おー!)
こちらから設定できますが、デフォルト設定のままでも問題ありません。(ふむふむ…。)

既存の画像を一括で「.webp」に変換する場合は、ページの一番下にある「Regenerate All」を押します!
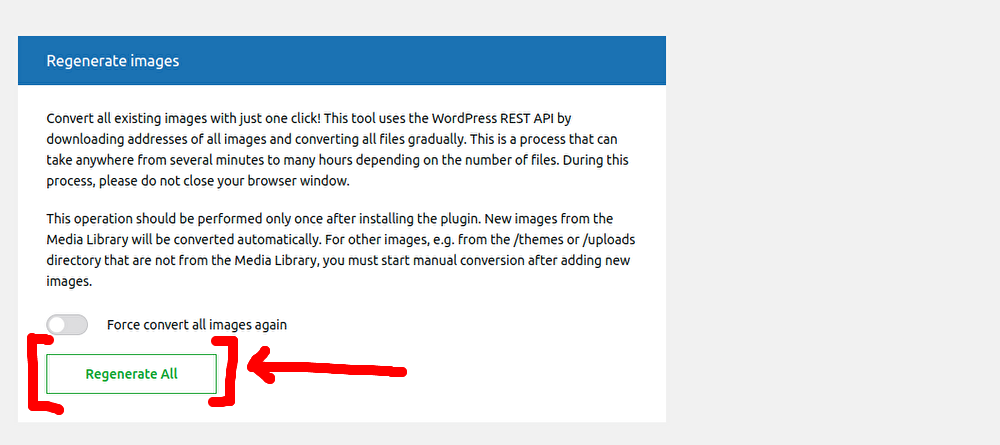
しばらく待ちます…⌚


確認しよう!
最後に、拡張子をチェックしていきましょう!
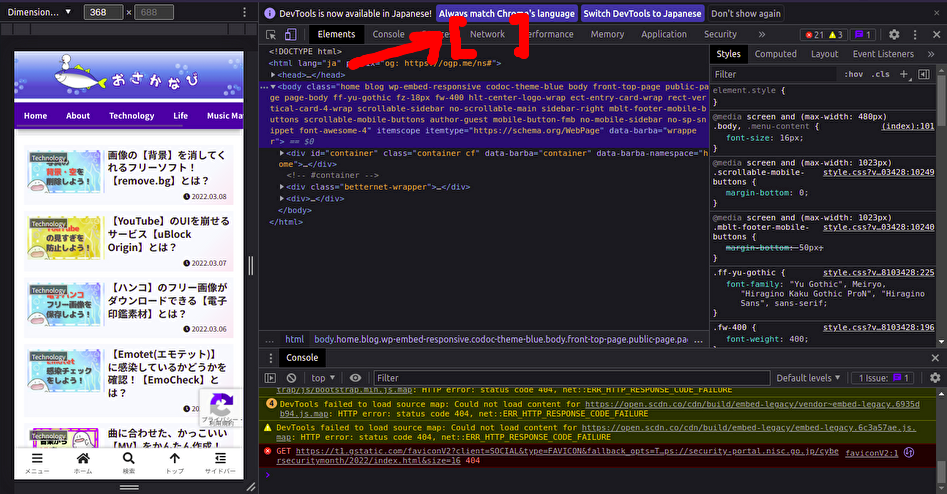
Windowsの人は「F12キー」macの人は「option + command + i」で、デベロッパーツールを起動します。(おりゃー!)
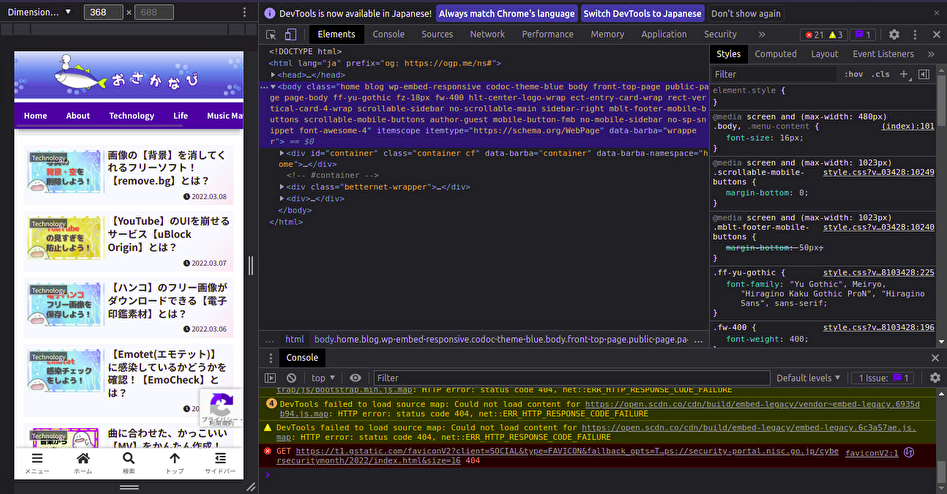
次に「Network」タブに切り替えます。
「img」を押しましょう!(はい!)
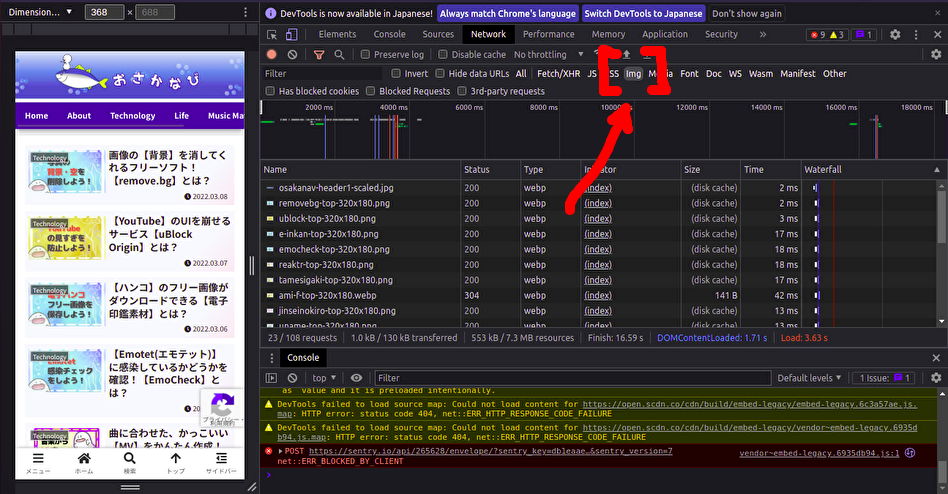
「Type」を確認してみると…?
こんな感じできちんと「.webp」に変換されたことがわかります!(おめでとう🌸)
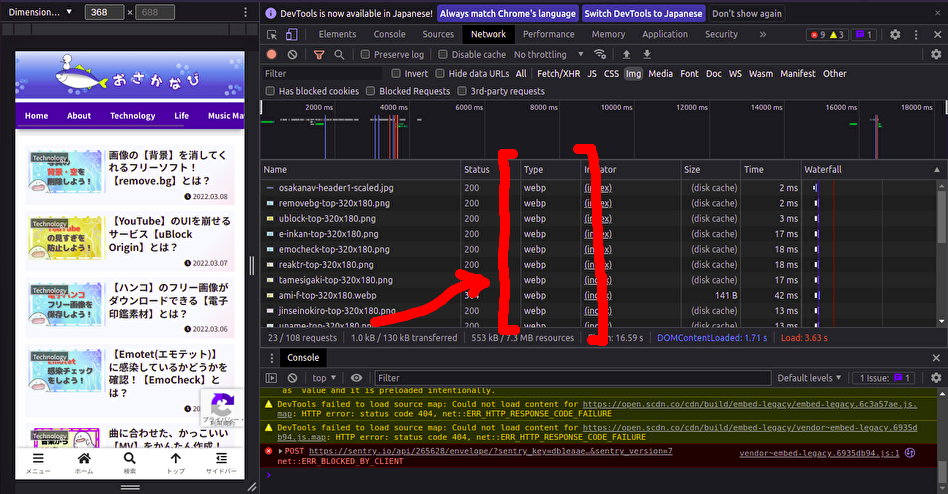
サイトの読み込みが早くなるといいね…。
ね!(それより、お腹空いたな〜。笑)
これで全ての操作は完了です。(やった~!)
お疲れ様でした☕
ここまで読んでくださり、ありがとうございました!