
みなさんこんにちは!おさかなです!
今回は「MiniTool ShadowMaker」について、書いていこうと思います!
それでは、レッツゴー!!!!!
・おすすめのPC「バックアップソフト」を探している方
・MiniTool ShadowMakerの使い方を知りたい方
・無料で使えるバックアップソフトを選定中の方
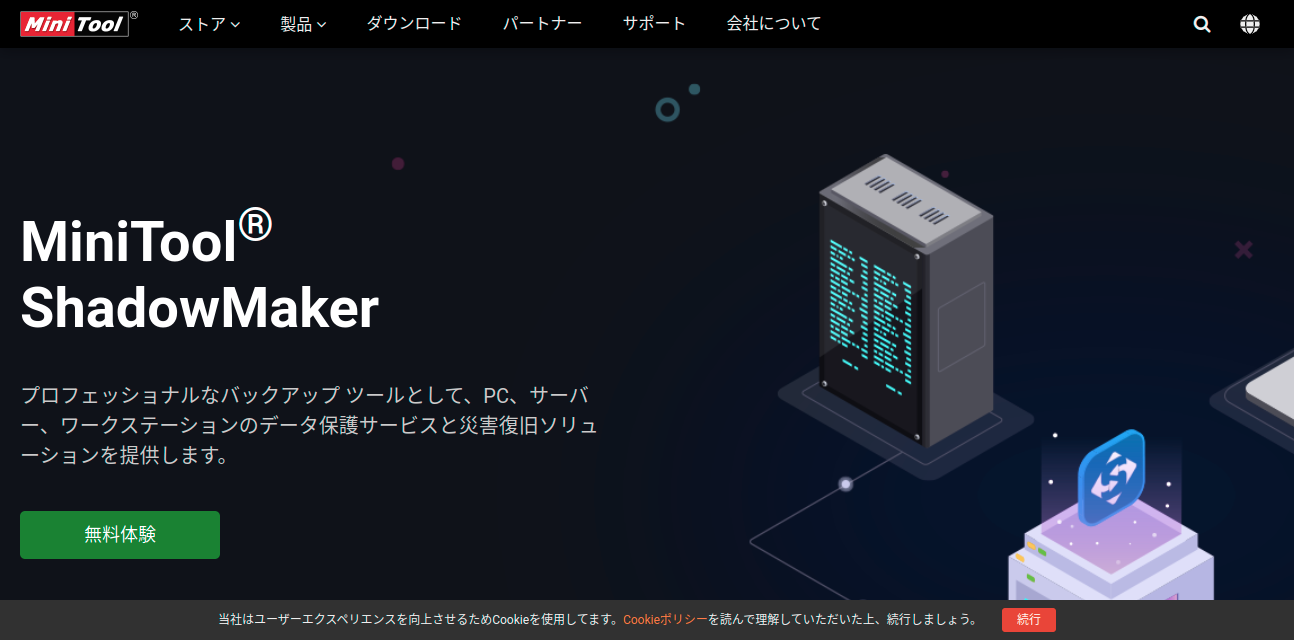
「MiniTool ShadowMaker」って何?
「MiniTool ShadowMaker」とは、SSDなどPC内のデータを丸ごとバックアップできる、Windows用ソフトのことです。無料版でも機能制限が少なく、充分に使用できます。(いいね)

↓MiniTool パーテーション管理ソフト

実際に使ってみよう!
インストールしよう!
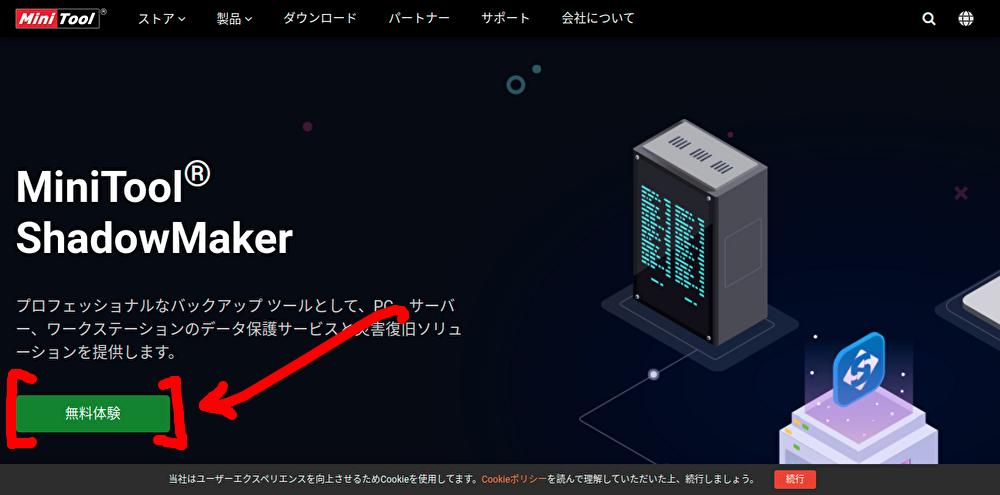
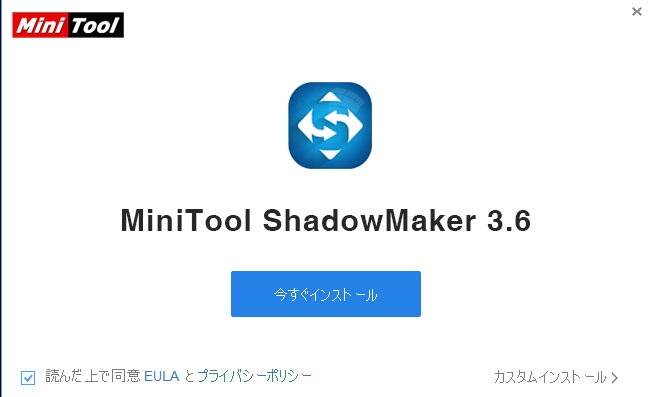
それでは早速サイトにアクセスしましょう!
今回は「無料体験」を試します!(おー!)
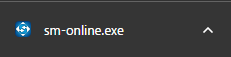
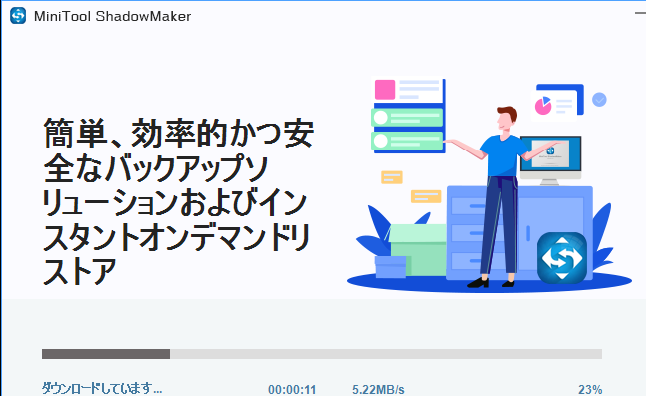
ファイルのダウンロードが開始するので、少し待ちます…。⌚
「sm-online.exe」といったファイルがダウンロードされればOKです!(よし!)
ダウンロードしたファイルをクリックし、「今すぐインストール」ボタンを押します。(ポチっと)
すると…ソフトのインストールが開始するので、待ちましょう。
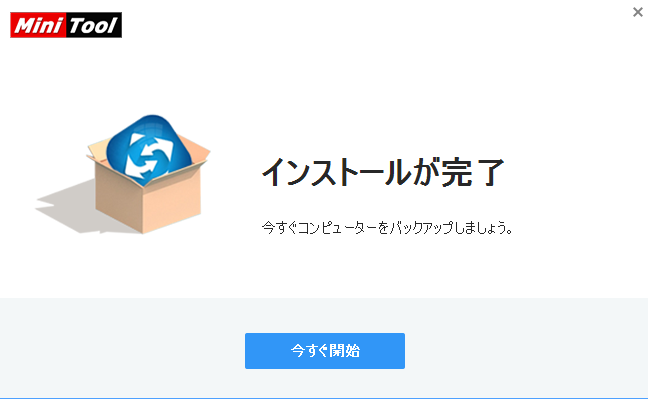
こんな感じで、無事に「インストールが完了」しました!(いえい)

(こまめに休憩🍵)
バックアップしよう!
インストールが完了したら、ソフトを起動します。
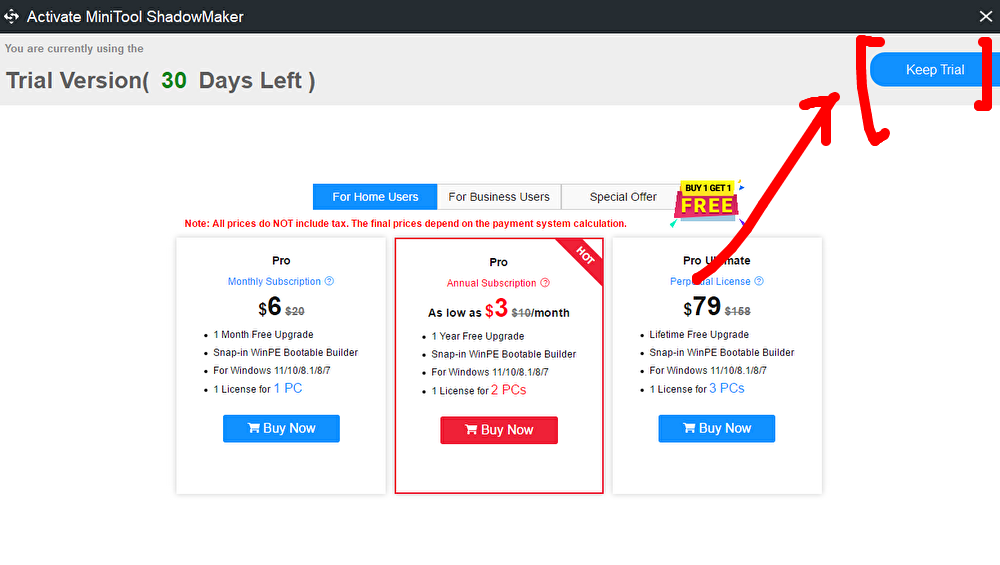
有料版の案内が表示されますが、今回は「Keep Trial」から無料版を使います!
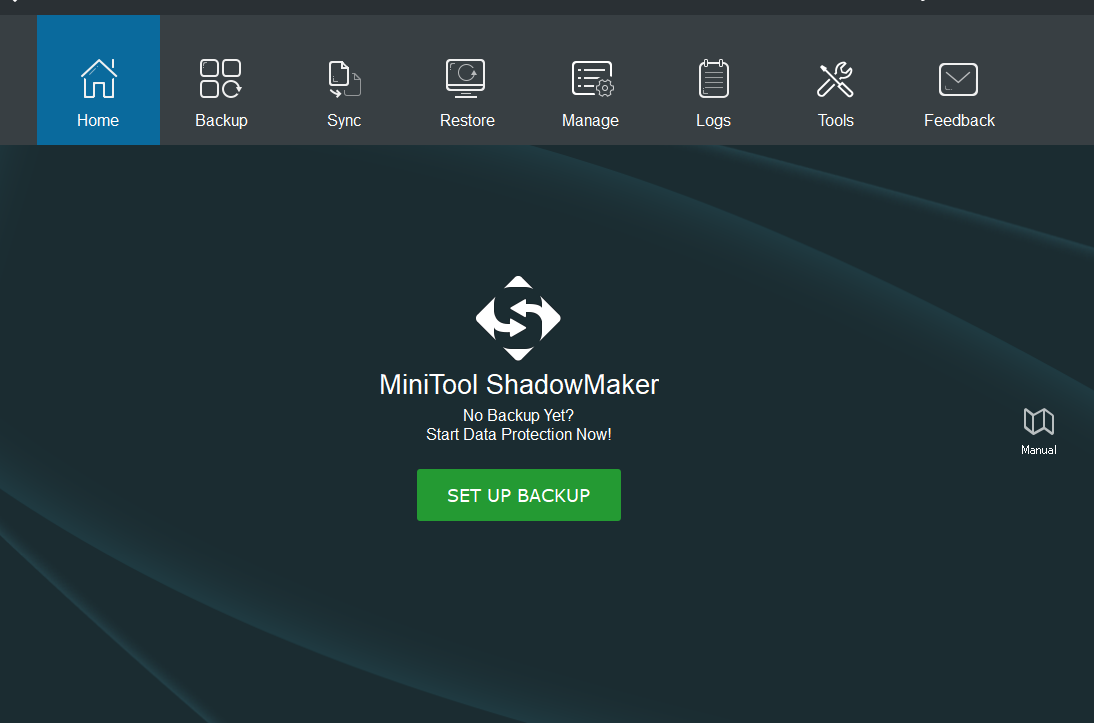
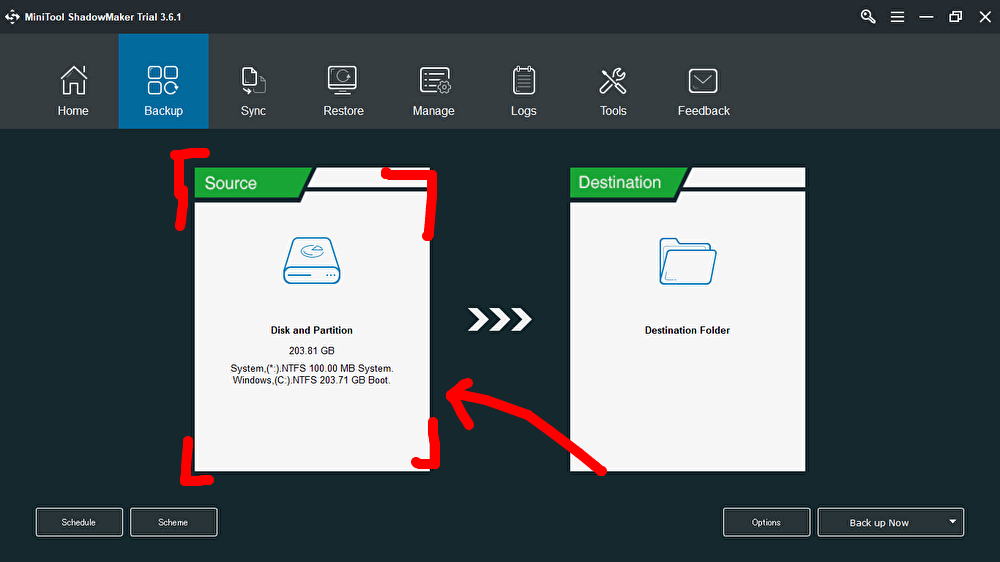
基本画面はこんな感じです!(おお〜!)
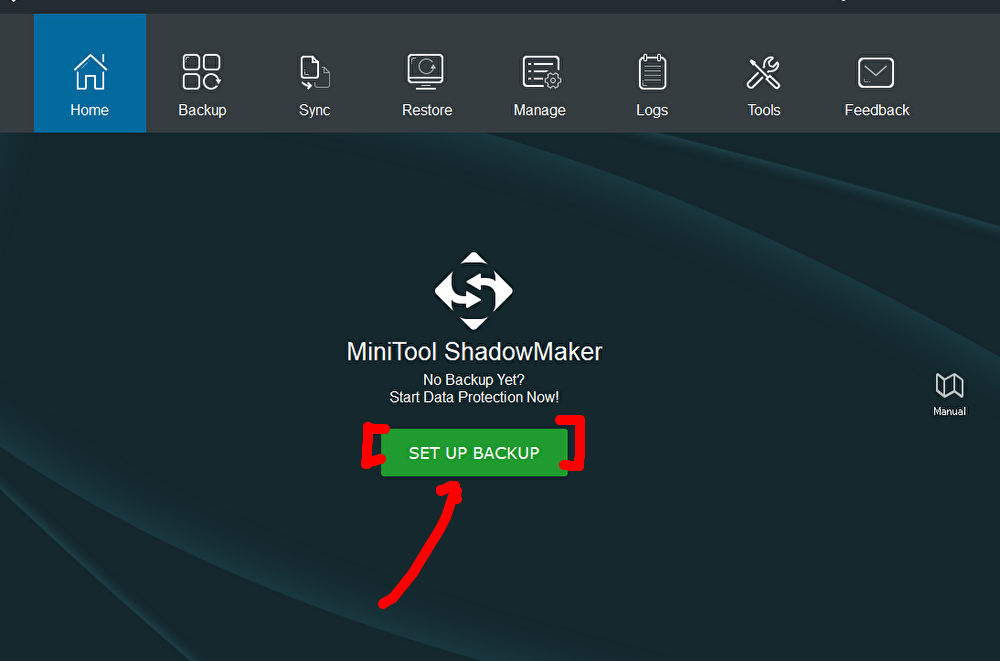
まずは「SET UP BACKUP」を押して、バックアップを作成していきましょう!(おー🚩)
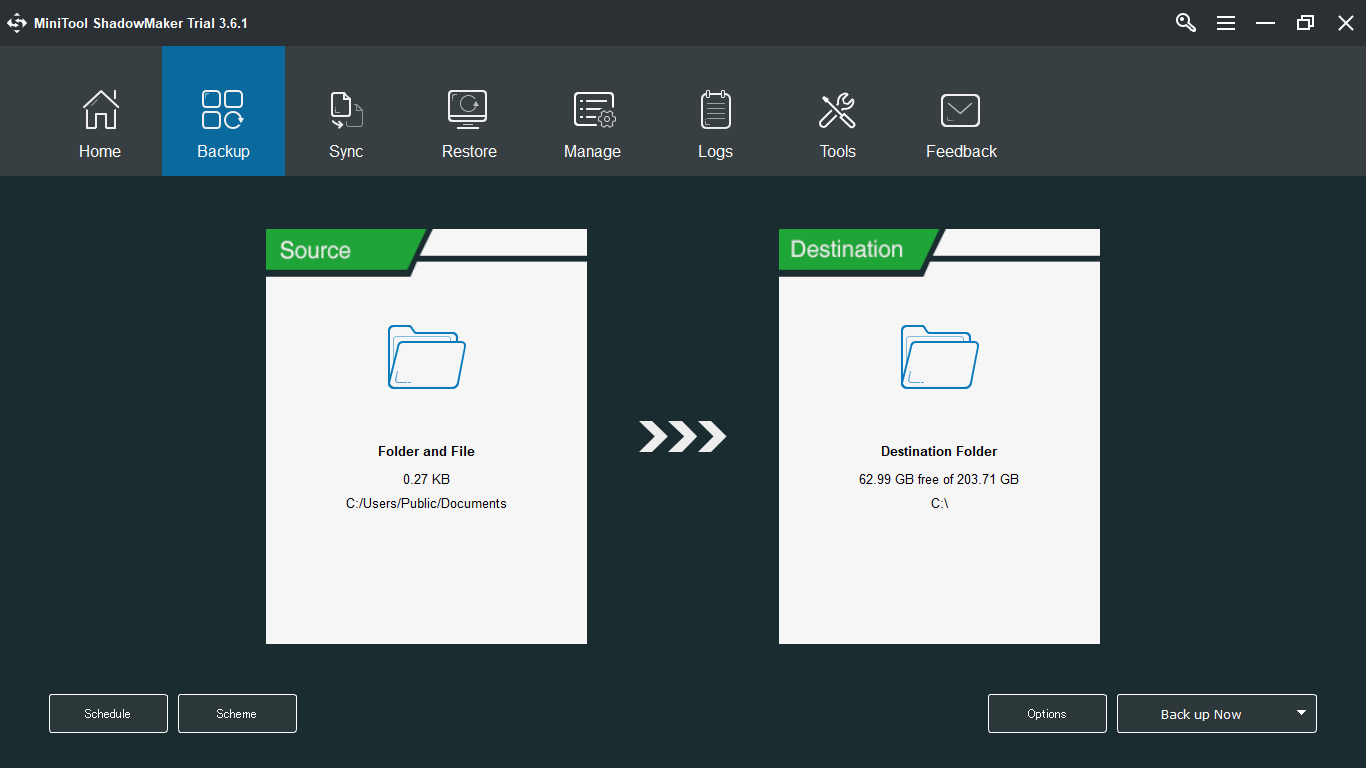
こちらでは「バックアップするデータ」と「バックアップの場所」を設定していきます。(はい!)
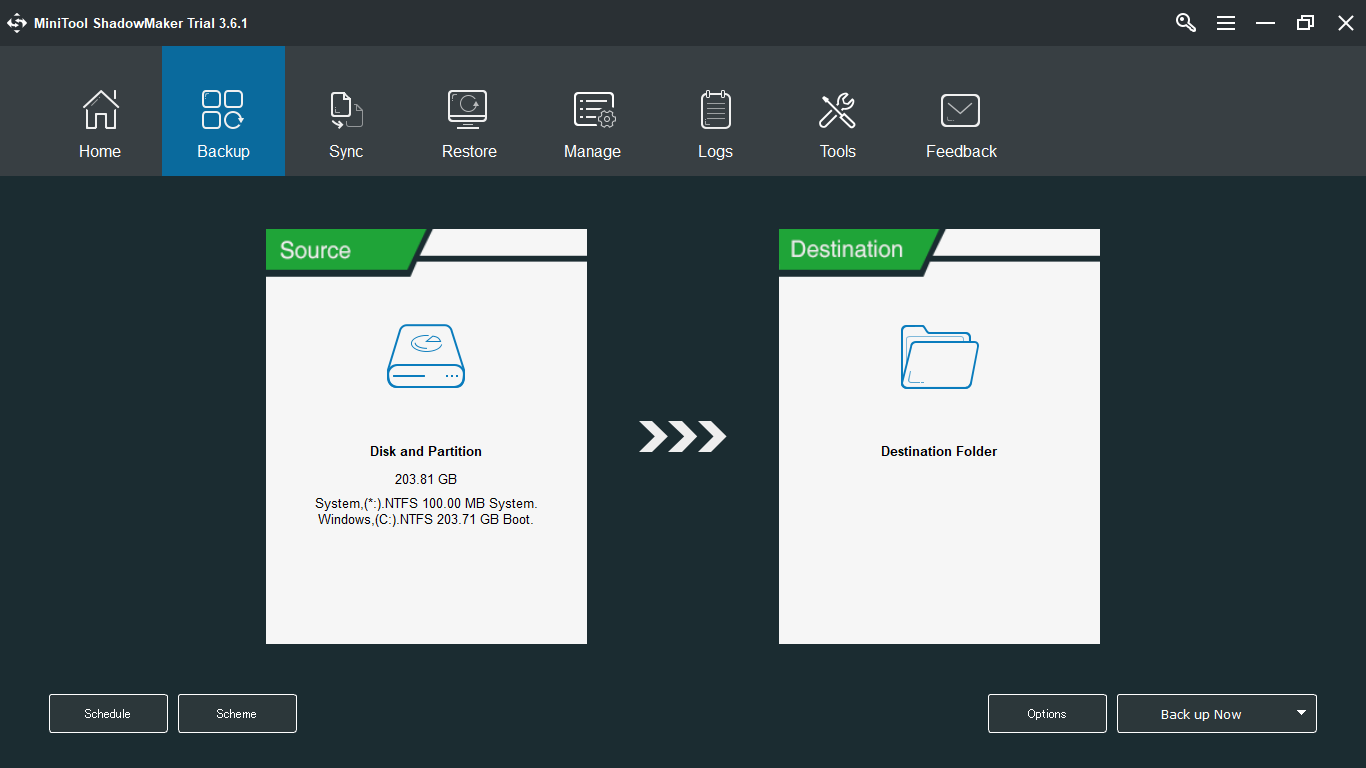
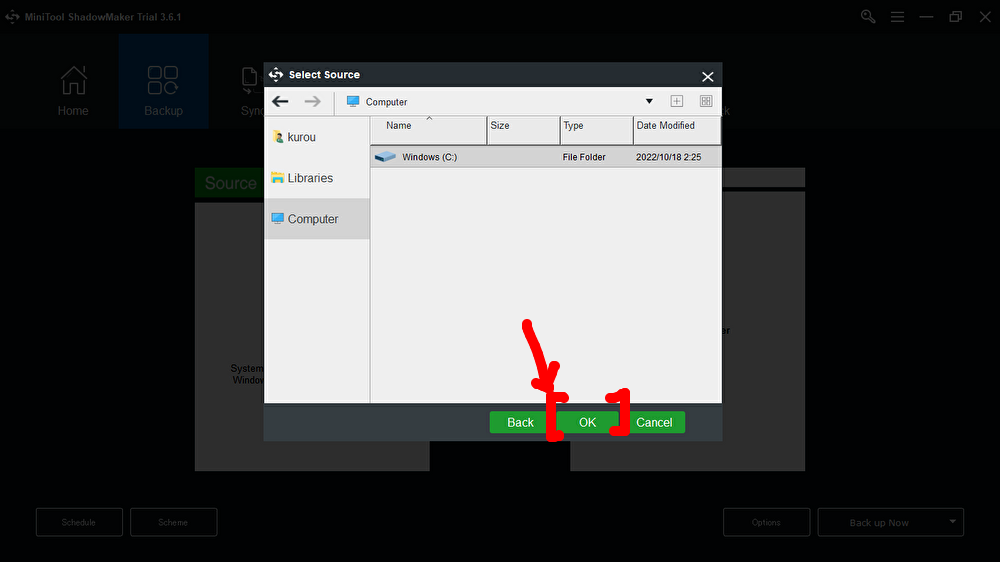
まずは「Source」をクリックしましょう。
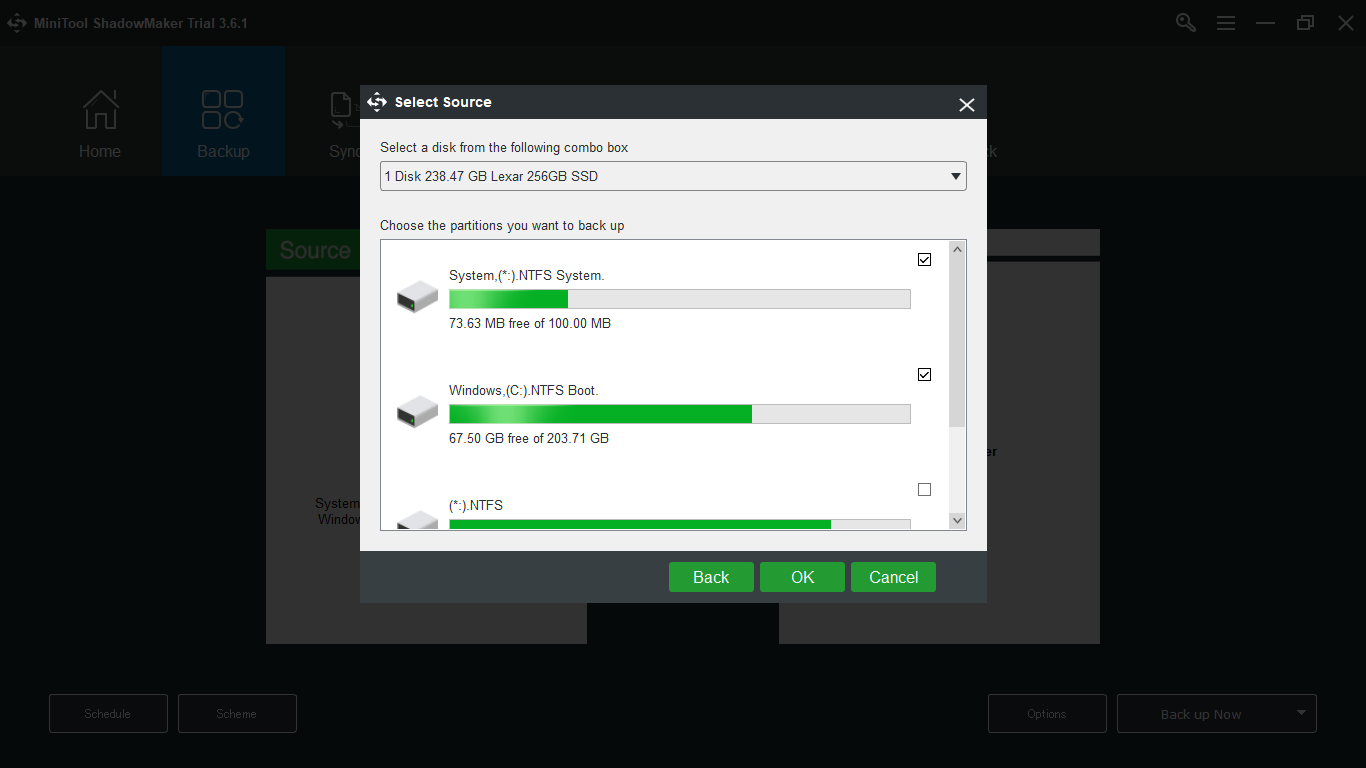
このように「Disk and Partitions」または「Folders and Files」から、バックアップするデータを選択します!(ふむふむ…。)
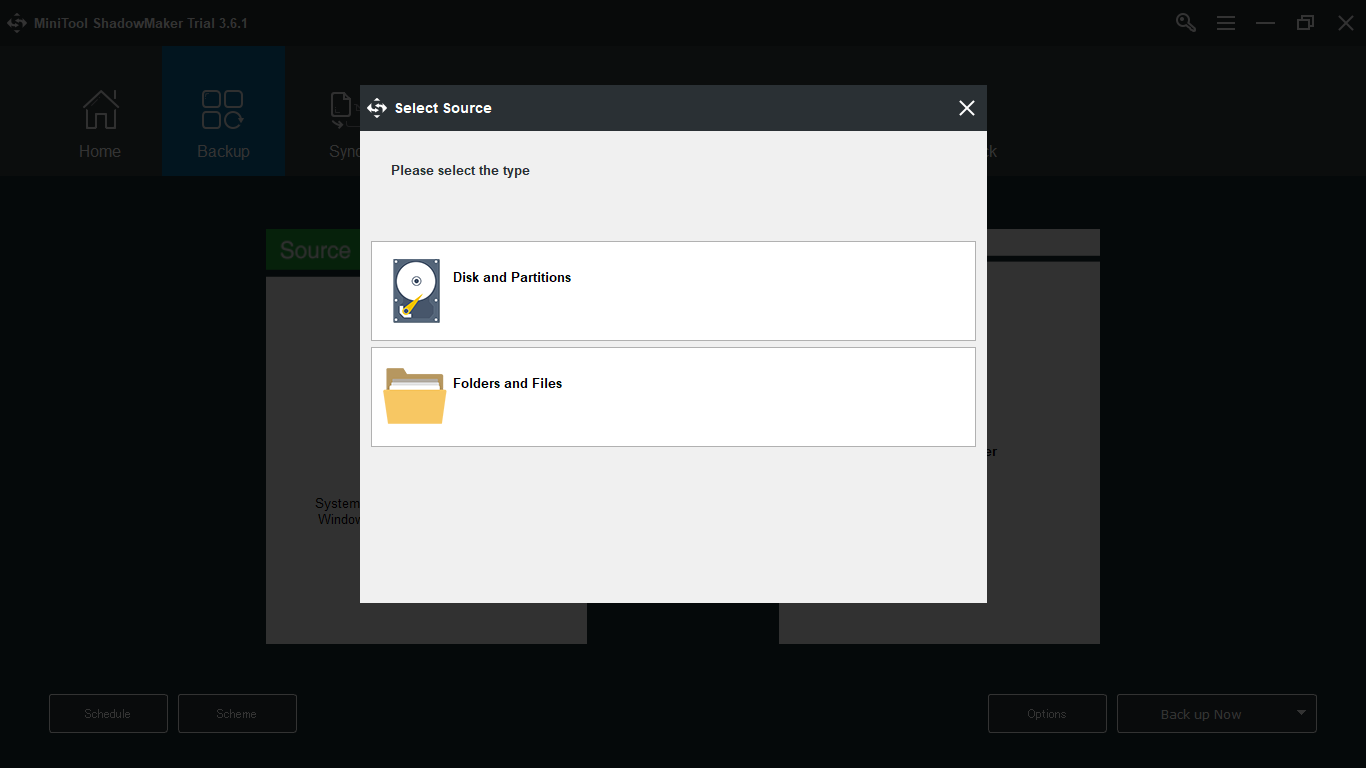
Disk and Partitionsの場合は、パーティション領域を選択すればOKです。
Folders and Filesの場合は、バックアップする「フォルダorデータ」の位置へ移動して、選択します。(えい!)
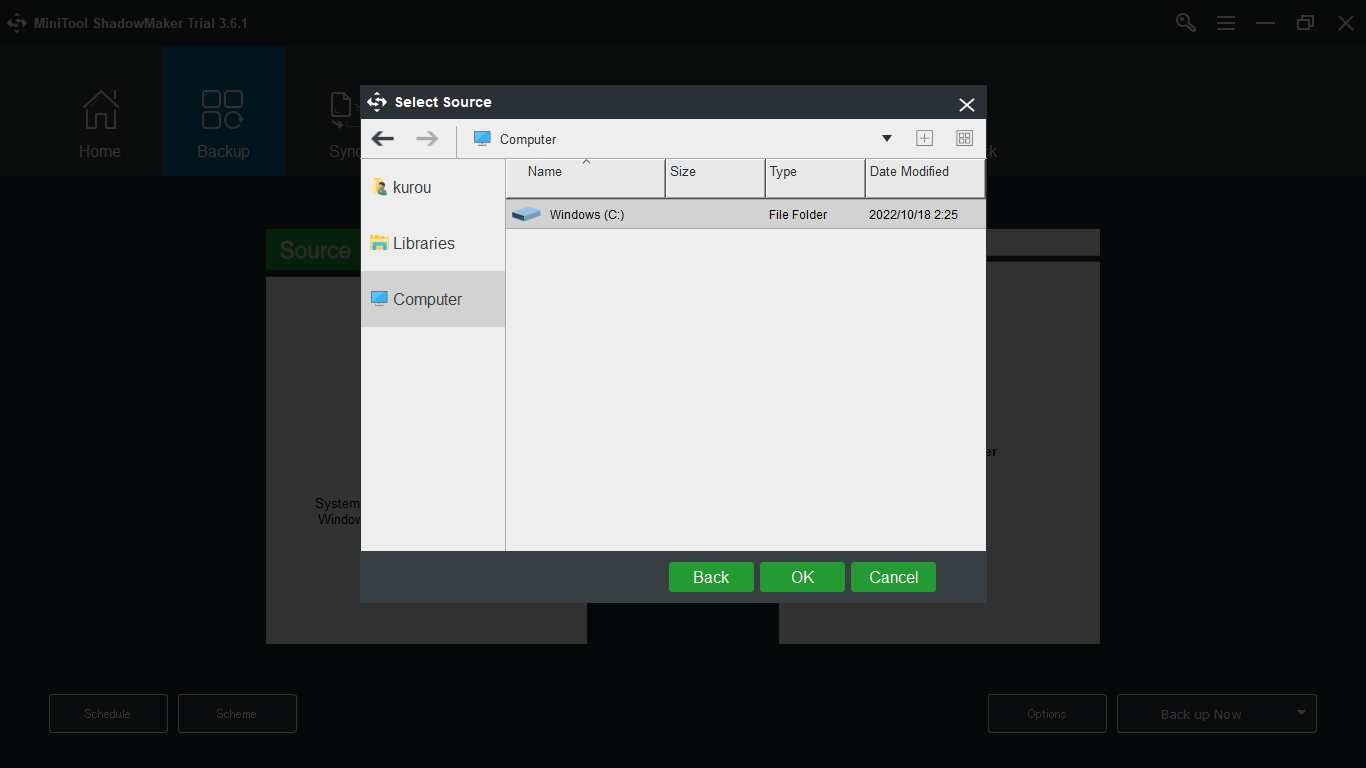
どちらも、選択後に「OKボタン」を押すのを忘れずに…!
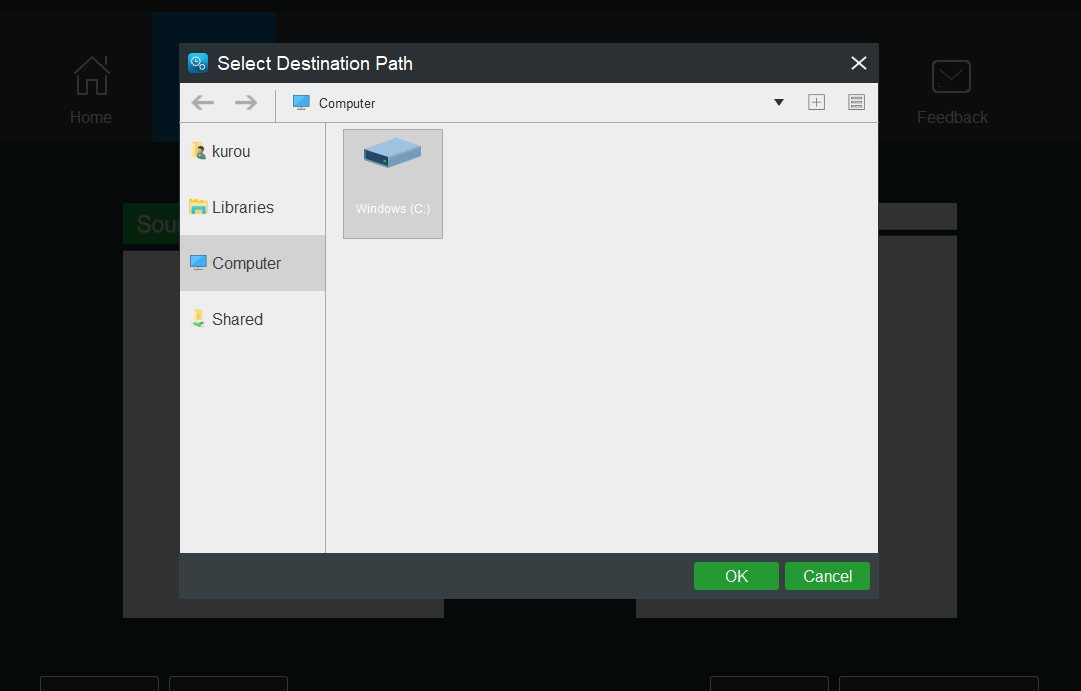
続いて「Destination」を押します。(おりゃ!)
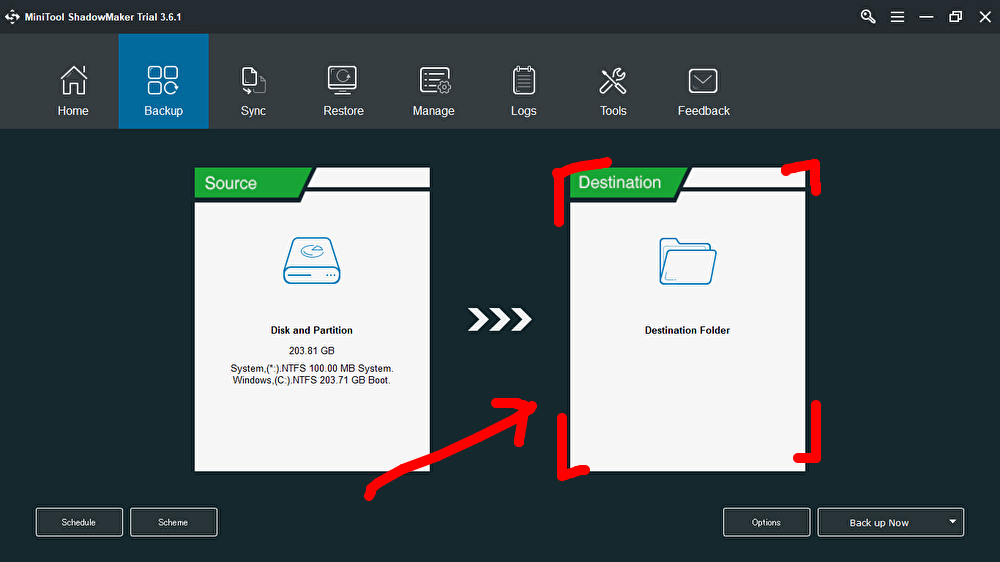
バックアップ先を選択し、OKを押します。
(グッド👍)
ちなみに「Option」ボタンでは…?
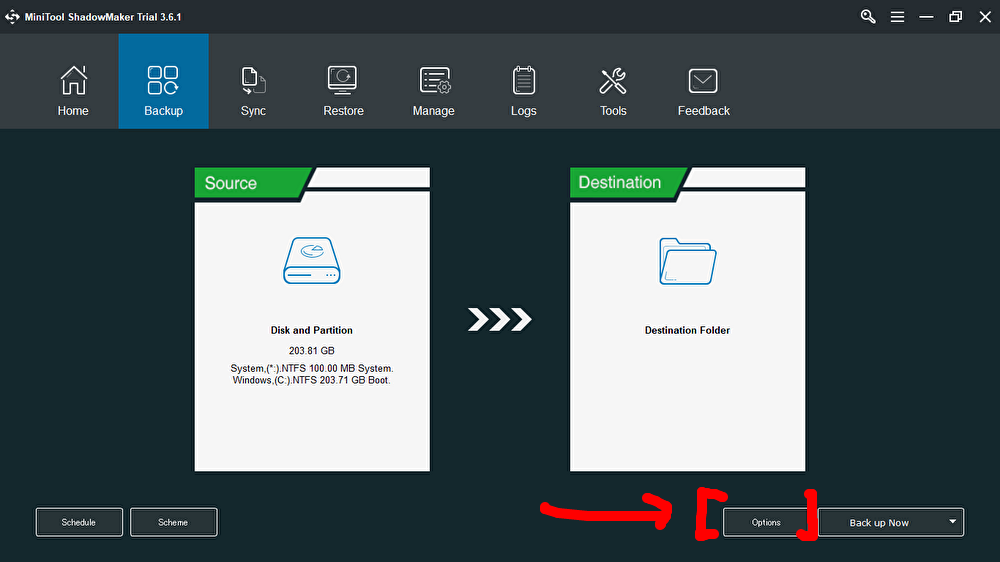
ファイルサイズ指定やメール通知の有無などを、設定できます。(いいね!)
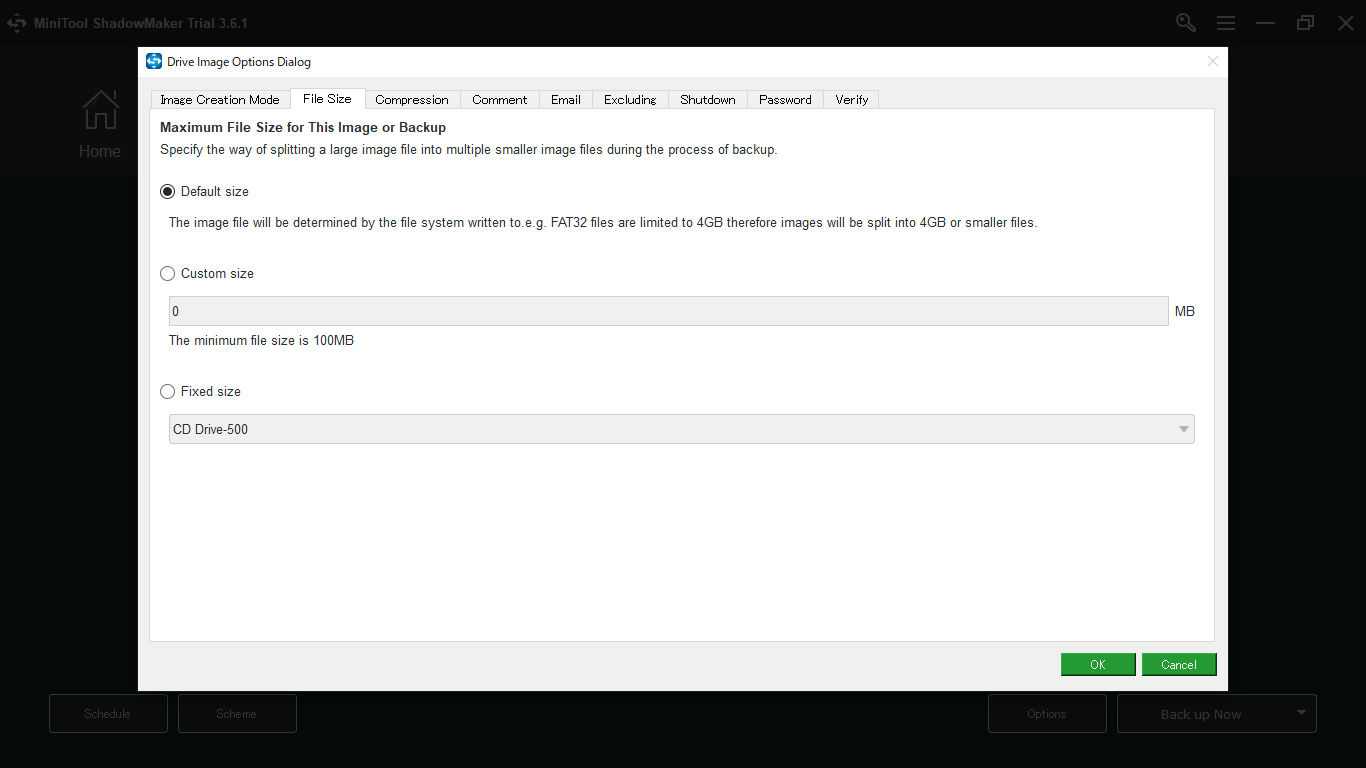
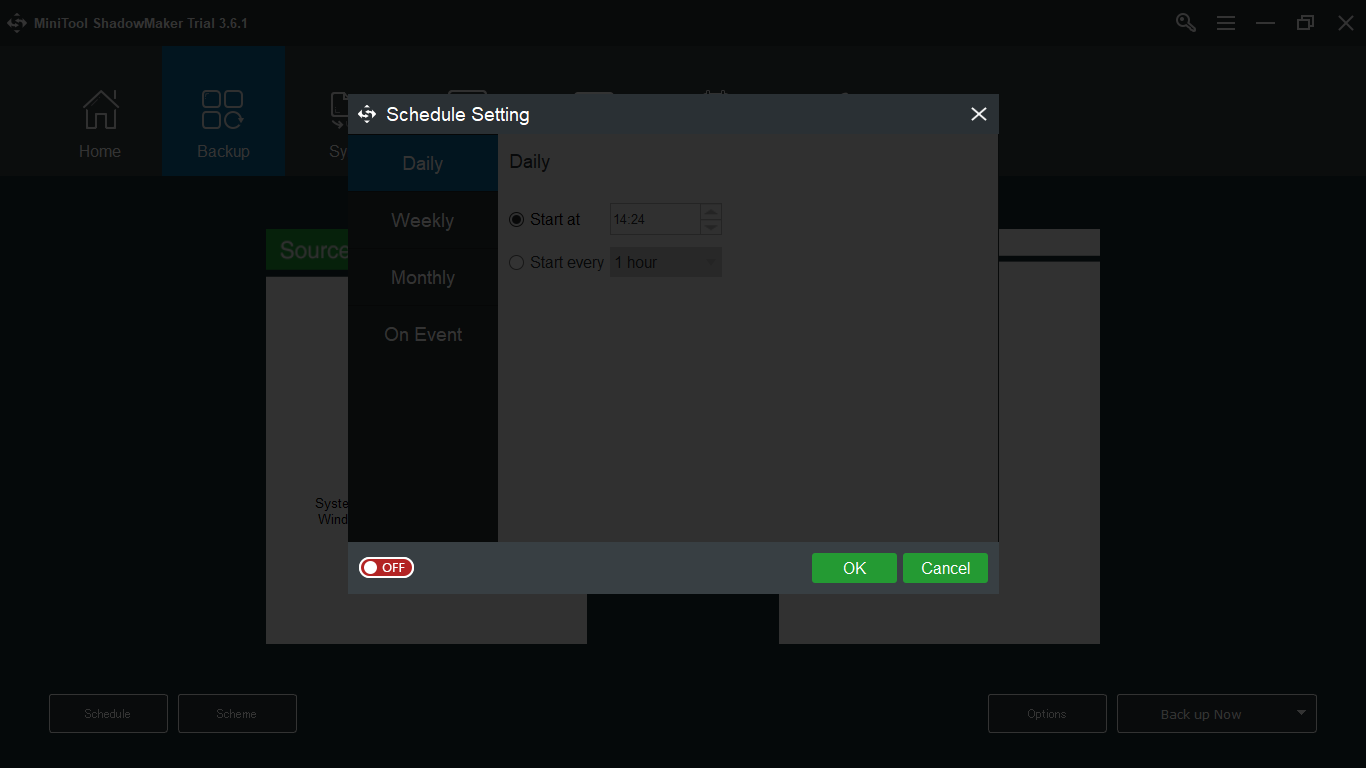
ちなみに有料版の場合は「スケジュール設定」なども可能です。
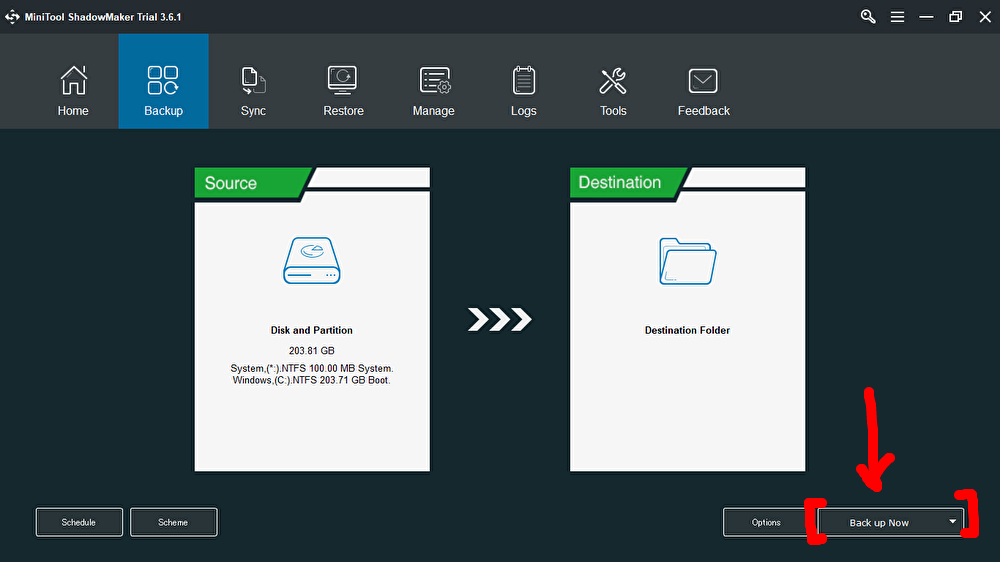
準備ができたら、右下の「Back up now」を押しましょう!
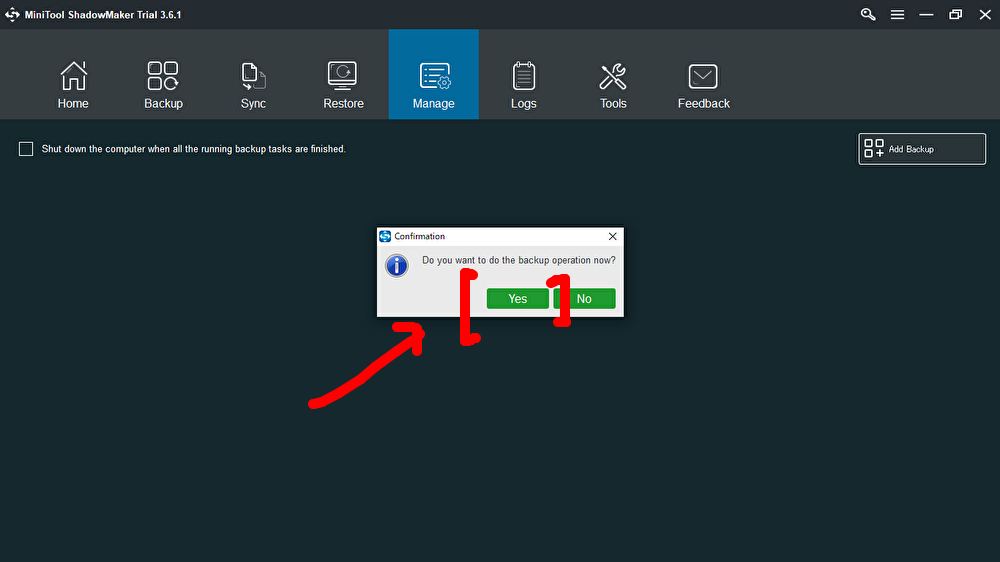
再度、バックアップしますか?と聞かれるので「Yes」を選択。
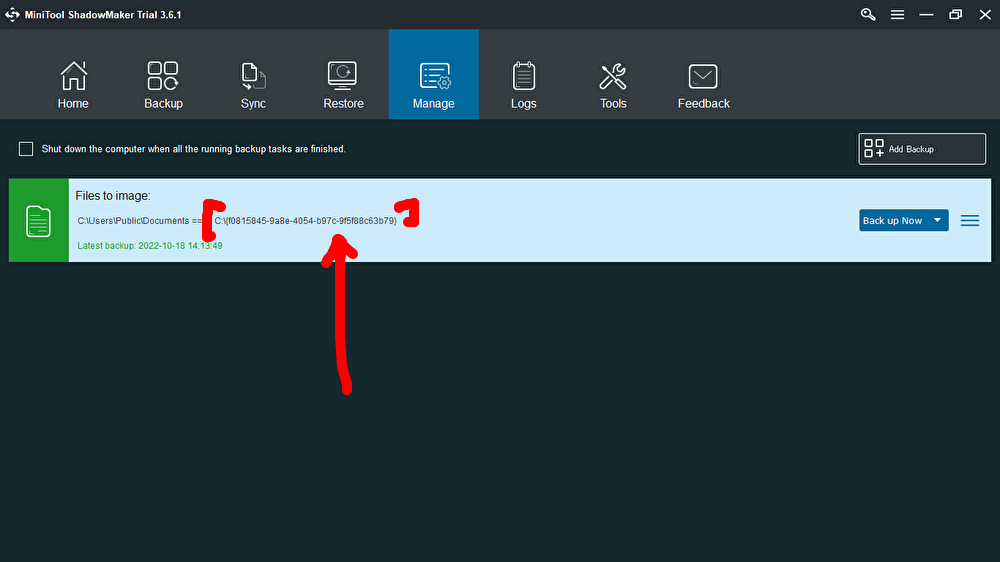
こんな感じで、無事にバックアップが完了しました!(おめでとう✨)
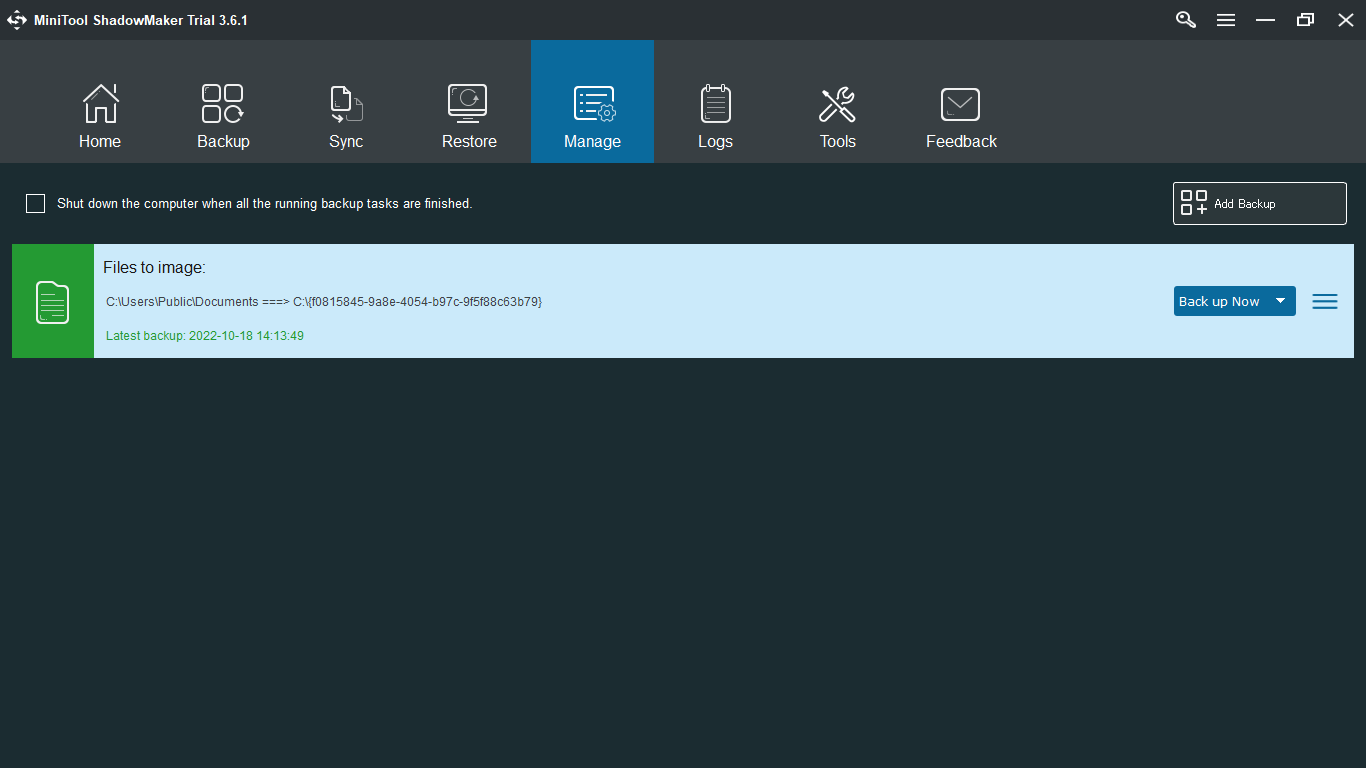
ちなみに、赤括弧内の文字列が「ファイル名」となっています。
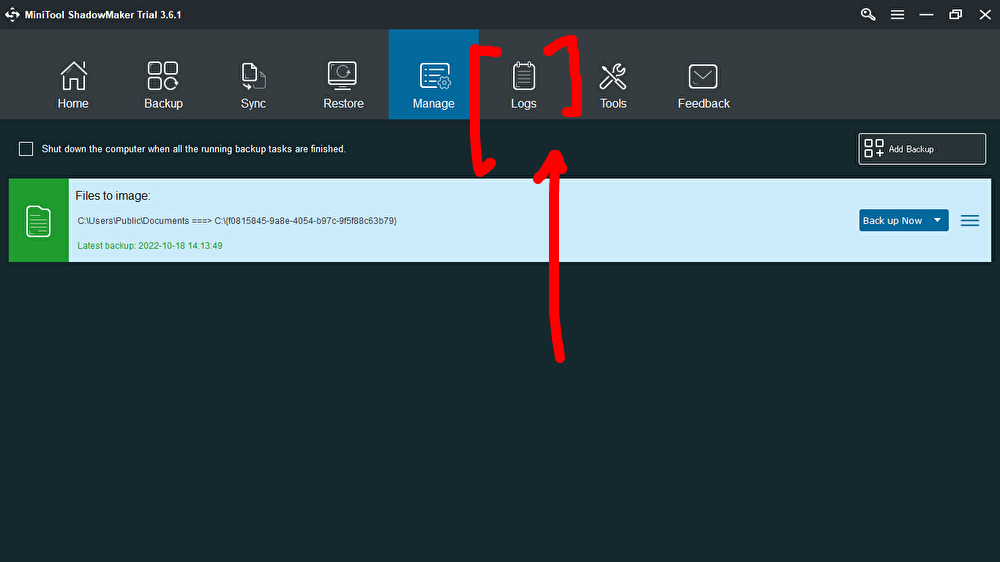
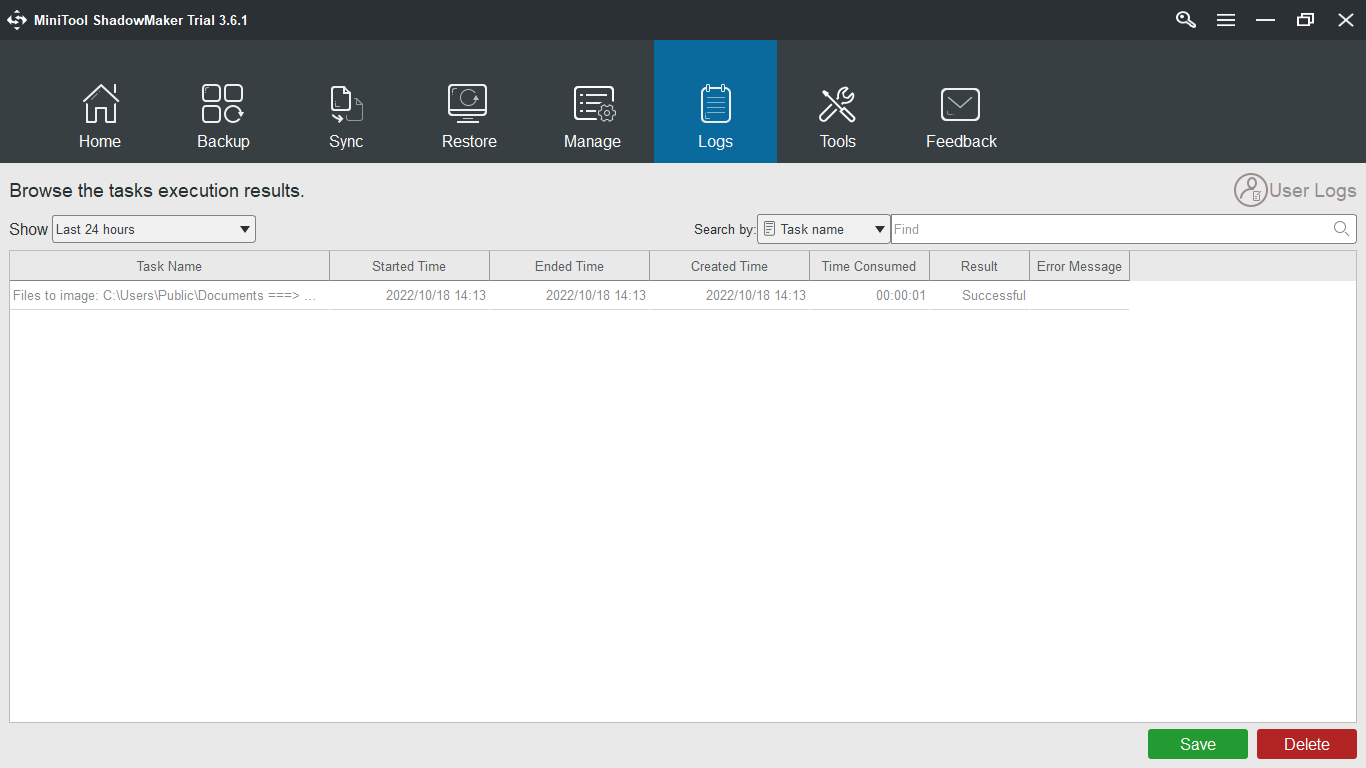
メニュータブ「Logs」を押すと…?
こんな感じで、バックアップ履歴が見れます。
以上、バックアップ管理ソフトを探している方の、参考になれば幸いです。(お疲れ様でした🍵)

バックアップは任せて〜♪
左から右へと〜♪
(懐かしい…つられて歌ってしまった!笑)
これで全ての操作は完了です。(やった~!)
お疲れ様でした☕
ここまで読んでくださり、ありがとうございました!